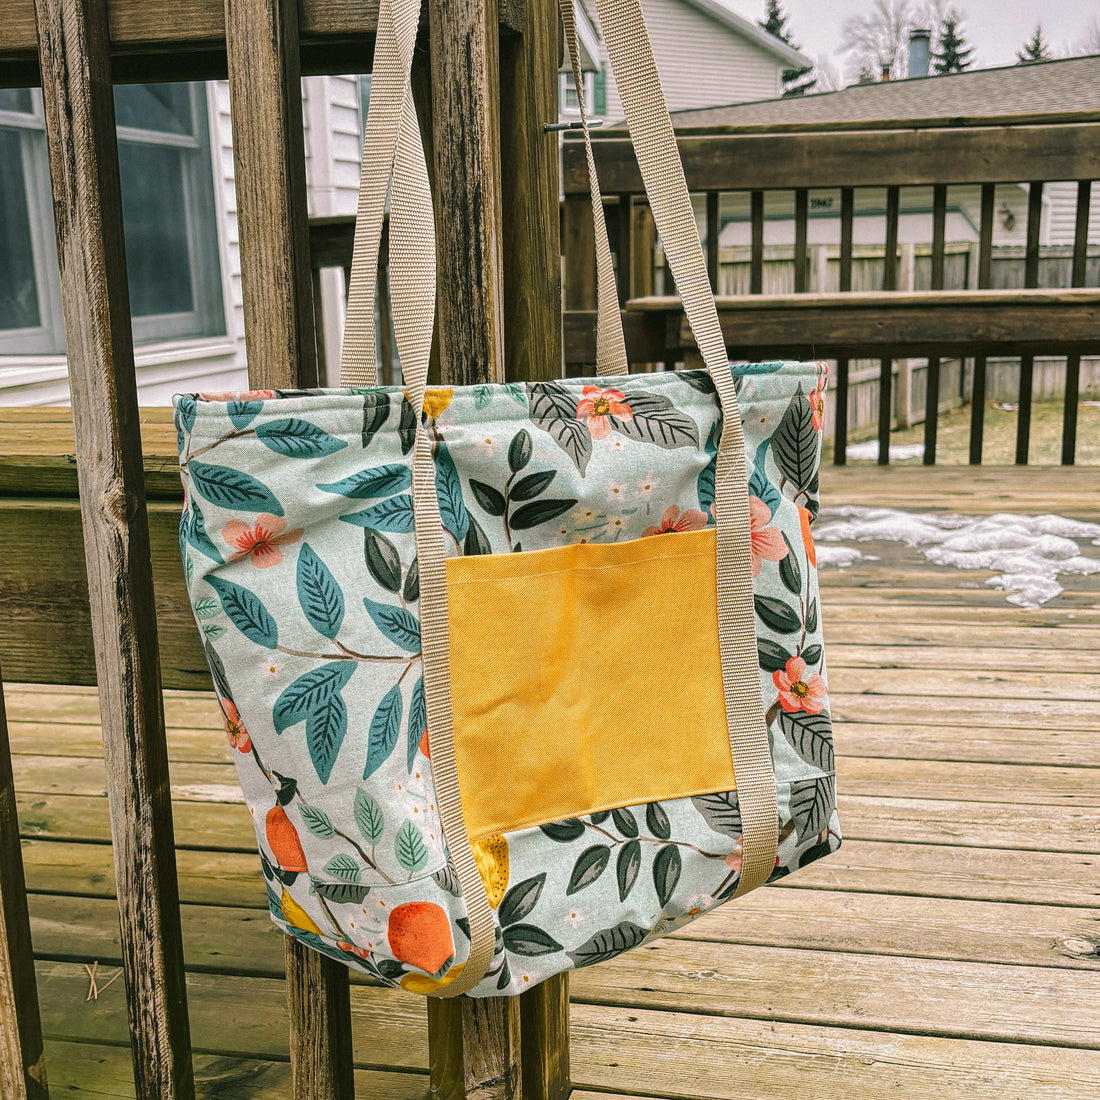
One of my goals for 2024 is to go to the farmer's market a lot more often and I want a new tote bag to bring along. Normally I would say to just use a tote you already own, but there are a few things I'm looking for in a farmer's market grocery tote: it needs to be sturdy, it needs to insulated, and it needs to have a waterproof, food-safe lining.
What you'll need:
- Pattern & tutorial by Handmadiya* (*I made some changes to this tutorial, see below)
- 1 yd canvas fabric or upcycle 1-2 old canvas totes, I used this one.
- 1/4 yd contrasting color canvas fabric, I used this one in Mineral Yellow.
- 1 yd fusible interfacing, I used this one.
- 4 yds strapping, I used this one.
- 1/2 yd food-safe lining fabric, I used this one.
- 1/2 yd insulating fabric, I used this one.
- Magnetic snaps, I used these, these ones are cute too.
Changes I made:
- I cut the lining and insulating fabric to 16" x 21.5", instead of 13" x 21.5"
- I used a premade strapping and cut the piece to 130"
- The tutorial has you leave a gap at the bottom of the lining to be able to turn it. I sewed that closed and attached the lining in a different way (see below).
- I added magnetic snaps to the top (see below).

Outside of bag:
- You'll need: main canvas fabric, pocket canvas fabric, interfacing, strapping
- Follow Handmadiya's instructions as written for the outside of the bag, making the change to using 130" of strapping.
Lining:
- You'll need: lining fabric, insulating fabric
- Cut 2 [16" x 21.5"] pieces out of both the lining fabric and the insulating fabric
- Place lining pieces right sides together, then layer the insulating fabric on either side of the lining pieces. You'll have a lining sandwich that goes insulating fabric, lining, lining, insulating fabric.
- Sew the sides and bottom, leaving the top open
- Follow the same steps you did for the outside to box off the corners.
Magnetic Snaps (optional):
- You'll need: either canvas fabrics, interfacing, magnetic snaps
- Cut 2 [4" x 4"] squares out of both the canvas and the interfacing
- Attach the interfacing to the canvas.
- Fold one side of your square approx. 1/4" and press. This is now the "top"
- Fold in the sides to meet in the middle and press. Fold again at the center and press to create a 1" strap.
- Topstitch the sides and top to secure.
- Attach your magnetic snaps according to the package directions

Finishing off the bag:
- Insert the lining into the outside of the bag so that the outside is facing out, the lining is facing in, and you can't see the insulating fabric.
- Fold the top of the canvas down 1" and then fold down 1" again to encase the raw edges and the top of the lining. Secure with pins or clips.
- If you're adding magnetic snaps, insert the raw edge between the folded canvas layer and the lining layer at the center of the bag. Make sure your snaps are facing the right way before sewing.
- Topstitch around the top of the bag, approx. 3/4" from the top. Move the straps out of the way as you go.
That's it! You now have a farmer's market tote bag!

ps. this is the first tutorial I've created so if something doesn't make sense let me know in the comments and I can try to help!